Django101 Hello World!
The world of web development is full of tools and frameworks, but when it comes to developing powerful and scalable web applications, Django is without a doubt one of the best options. Django provides developers with an elegant and efficient way to build web applications using Python. Django follows the "battery included" principle, which means it comes with a lot of built-in features and tools to make your development easier. With Django, you can manage databases, forms, implement user authentication, and much more.
Setup
Install Python3
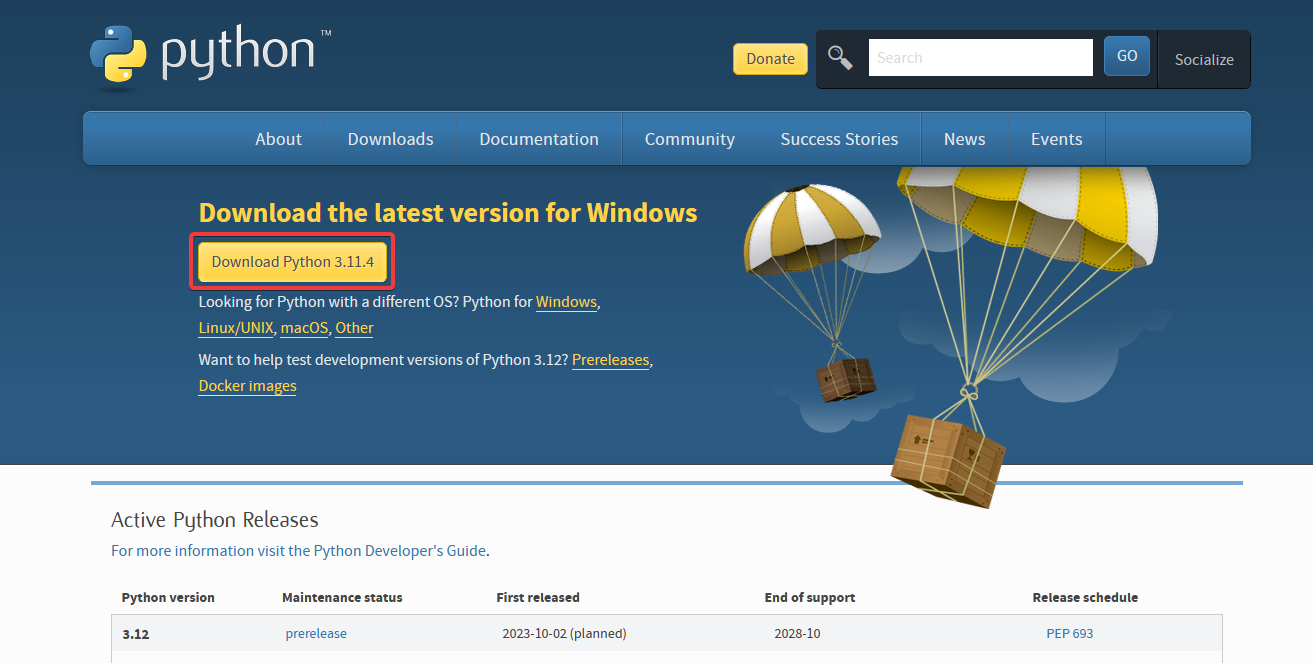
Before we can get started with Django, we need to install Python. (you can skip this part if you have already done so)

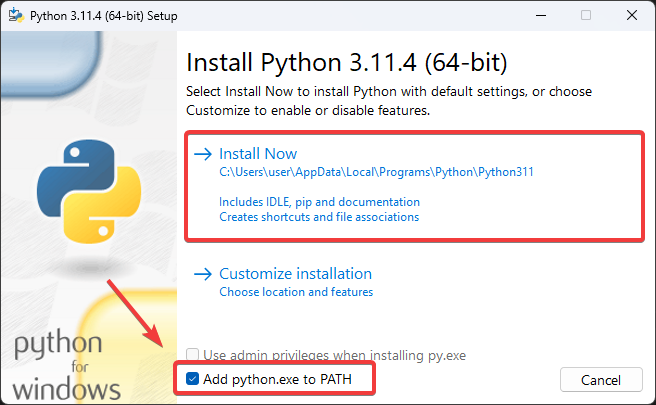
After the download is complete, run the installer. Make sure you check "add python.exe to PATH".

Install Django In pipenv
First we are going to install pipenv using pip, we do this with the following command
pip3 install pipenv
Then we install Django in a virtual environment. to avoid possible compatibility issues with other projects.
So each project has its own Python and Django installation.
pipenv install django
activate the environment with:
pipenv shell
Start Django
Now we start a new Django project named "blog_arteii_example".
django-admin startproject blog_arteii_example
This will create a new folder if you create the project directly in the folder you are currently in:
django-admin startproject blog_arteii_example .
python manage.py runserver
starts a local server
*for now you can ignore the migration errors
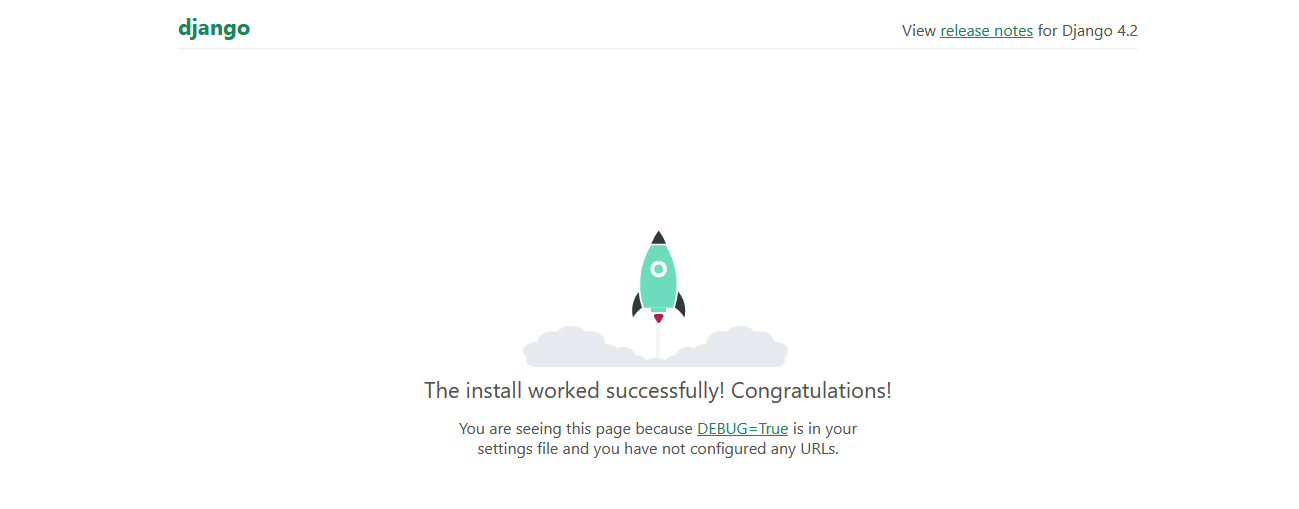
your website is now local available on: http://127.0.0.1:8000/
you should see:

stop the server using ctrl + c
python manage.py migrate
removes the error message that we used to get
Hello World!
lets start creating our first app if you still got a server running pls stop it
and run:
python manage.py startapp <app_name>
in my case the app_name is: pages
add it to the project settings
You should add your own applications below the Django applications. Because Django loads the applications in order. So if you import yours on top, you won't be able to use the Django modules.
...
# Application definition

INSTALLED_APPS = [
    'django.contrib.admin',
    'django.contrib.auth',
    'django.contrib.contenttypes',
    'django.contrib.sessions',
    'django.contrib.messages',
    'django.contrib.staticfiles',
    'pages.apps.PagesConfig',
]
...
let's modify the views.py file so when the user requests the homepage i.e. the domain without any directory structure the function HelloWorld is returned
...
# Create your views here.
from django.http import HttpResponse

def HelloWorld(request):
    return HttpResponse('Hello World!')
now create a new file with the name urls.py in pages (.../blog_arteii_example/pages/urls.py)
and modify, so it looks like this:
from django.urls import path
from .views import HelloWorld

urlpatterns = [
    path('', HelloWorld, name='home')
]
Most Django projects use many different applications, and each of these applications needs its own URL path. So we add our app pages to the url patterns so that when a user visits the home page, they are first redirected to the pages app and then to our HelloWorld function.
from django.contrib import admin
from django.urls import path
from django.urls import include

urlpatterns = [
    path('admin/', admin.site.urls),
    path('', include('pages.urls')),
]
and last:
python manage.py runserver